Incubating duck eggs and watching them hatch is a magical experience. It’s full of symbolism and wonder. It’s a chance to start a hobby or connect with nature. The process shows the start of a duckling’s life and teaches us about growth and learning.
Every step in hatching duck eggs is a chance to see the cycle of life. It’s a journey of wonder and discovery.
When a duckling peeps from its egg, it shows us about being adaptable and strong. Experts share tips on duckling hatching. By incubating eggs with love, we see the beauty of nature and the power of care.
So, let’s care for these beginnings and enjoy the full joy of life that duck hatching eggs bring.
Key Takeaways
- Duck hatching exemplifies new life and a profound connection with nature’s cycles.
- Providing nurture and care through incubating duck eggs teaches lessons in unconditional love.
- Hatch duck eggs with wisdom, respect for natural instincts, and adaptability in mind.
- Learn about the spiritual significance of duck hatching and growth potential for both the hatchlings and yourself.
- The duck egg hatching process calls for vulnerability, trust, and the harmonious balance of protection and freedom.
The Magical Journey of Hatching Ducklings
Starting the journey of hatching duck eggs involves watching over the incubation period carefully. This process is both a science and an art. It combines instinct with careful care.
The Cycle of Life Begins with a Single Pip
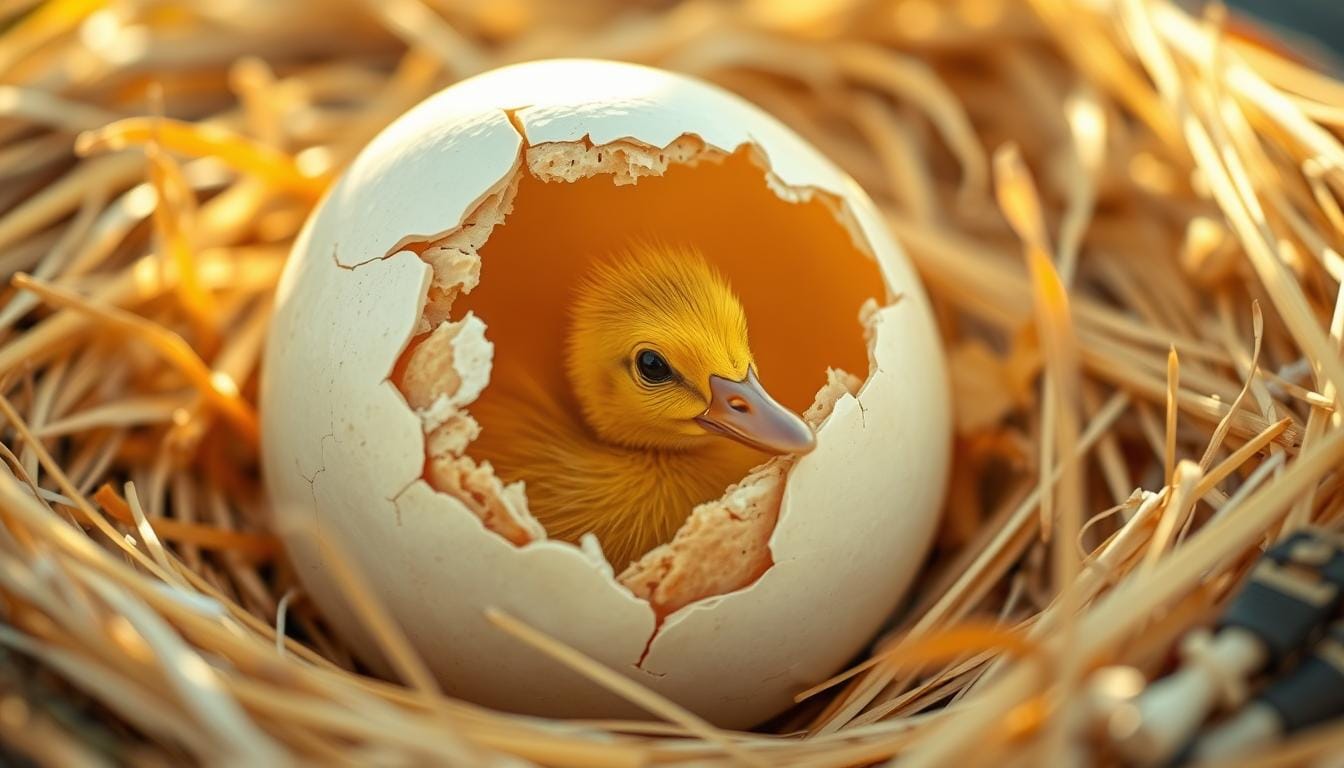
The first crack in a duck egg, called pipping, starts life. Pipping is a key moment when the duckling begins to break free. This is where your adventure in raising ducks from eggs begins.
Knowing the duck egg incubation guide ensures the eggs get the best environment. This mirrors what Mother Nature would provide.
Understanding the Spiritual Significance of Duck Hatching
Hatching ducklings is more than just biology. It’s about new beginnings and life’s cycles. From caring for the eggs to watching the ducklings hatch, each step is a reflection on life.
The spiritual side of duck hatching adds deep meaning. It turns backyard duck breeding into a life-changing experience.
Embarking on a Home Hatchery Adventure
Starting a home hatchery lets you control the incubation and conditions. It’s important to understand factors like temperature and humidity. Keeping humidity at 55-58% and temperature at 99.5°F for the first 25 days is key.
In the days before hatching, increase humidity to over 65%. This helps the ducklings break free from their shells.
Backyard duck breeding is more than just hatching eggs. It’s about the responsibility of raising ducks. This journey brings joy and purpose to your life.
Whether you want to learn about duck egg fertility or the spiritual side of hatching, this journey is rewarding. Each duckling that hatches is a celebration of life’s resilience and promise. Cherish these moments as they are the heart of raising ducklings at home.
How to Source Fertile Duck Hatching Eggs
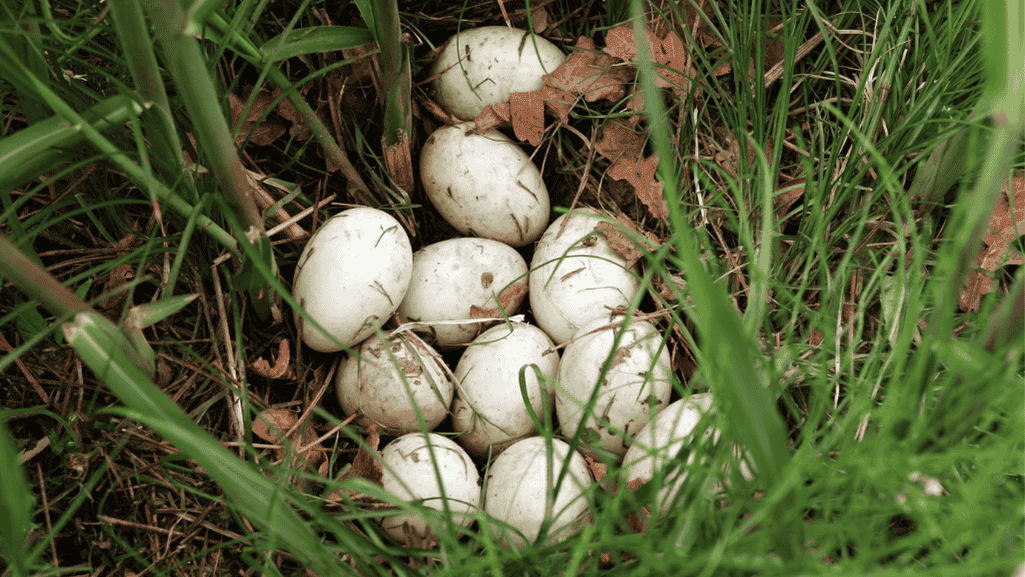
Finding reliable sources for duck hatching eggs is crucial for starting your duck rearing journey. Quality and fertility are key. Look to reputable farms and online retailers who guarantee fresh and viable eggs.
Finding the right place to buy duck hatching eggs can be easy. Suppliers like Metzer Farms offer fertile eggs and a detailed incubation guide for beginners. They promise at least an 80% fertility rate and offer refunds if eggs don’t meet this standard. Buyers must candle eggs within 14 days to ensure quality.
Local agricultural outlets or online platforms of established farms are great places to find duck hatching eggs. Make sure eggs are no more than 48 hours old when you get them. This increases the chances of successful hatching. Popular breeds like Khaki Campbell, Magpie, and Aylesbury are available, each needing the right incubation conditions.
| Feature | Details |
|---|---|
| Shipping Restrictions | Unavailable to Hawaii due to stringent state regulations |
| Customer Rating | Highly rated with 5.0 as of September 2021 |
| Dispatch Time | Typically 1-2 working days, with potential delays up to 6 days |
| Packaging | Environmentally friendly, compostable materials, without plastic |
| Collection Option | ‘Click & Collect’ available for local customers |
For more hands-on guidance and information about sustainable practices in hatching and duck care, consider exploring the resources at Ducks New World. This platform is dedicated to promoting the conservation and education of these charming waterfowls.
When buying duck hatching eggs, check the shipping options. Reputable suppliers use quick and careful shipping to keep eggs viable. Services like Royal Mail Tracked 24 ensure eggs are shipped efficiently and handled with care.
Whether you’re starting a duck farm or just want to hatch eggs, buying from credible sources and following proper incubation techniques are key. Start this fulfilling journey with the right knowledge and resources. This way, your hatching eggs will come from the best, leading to thriving ducklings.
Selecting the Best Duck Breeds for Hatching
Starting your duck egg breeding journey means picking the best duck breeds for hatching eggs. The right breed is key for hatching success. It affects how many eggs you can get and their chances of hatching.
The Role of Breed in Hatching Success
Every breed has its own benefits for duck egg breeding. For example, Pekin ducks are friendly and hardy. They’re great for both new and experienced breeders in backyard duck eggs setups. On the other hand, Muscovy ducks are quieter. They’re perfect for cities where noise is a problem.
Popular Breeds: From Pekin to Muscovy
Choosing the right breed is crucial for duck breeding. Breeds like Pekin and Muscovy are top choices. They’re known for their health and steady egg production.
- Pekin Ducks: Most popular in the United States, known for robust health and high egg yield.
- Muscovy Ducks: Heavyweight breed, prized in culinary circles, noted for being one of the best duck breeds for hatching eggs.
- Khaki Campbell Ducks: Esteemed for egg production, yielding between 250-325 eggs annually.
- Runner Ducks: Unique for their posture and vibrant egg colors, about 70 percent lay green eggs.
- Saxony and Aylesbury Ducks: Require focused conservation efforts but are valued for their distinct characteristics and contribution to duck egg breeding diversity.
| Breed | Egg Characteristics | Suitable Environment |
|---|---|---|
| Pekin | High volume, white eggs | Backyards and farms |
| Muscovy | Large, viable eggs | Urban and rural settings |
| Khaki Campbell | Consistent layers, creamy eggs | Small to medium spaces |
| Runner | Unique green eggs | Any backyard setup |
| Saxony | Large, tinted eggs | Conservation-focused environments |
Knowing the traits of these popular duck breeds can greatly boost your hatching success. Whether you’re starting small or aiming big, picking the right breed is key. It’s essential for successful hatching and meeting your duck breeding goals.
Gearing Up for Duck Egg Incubation
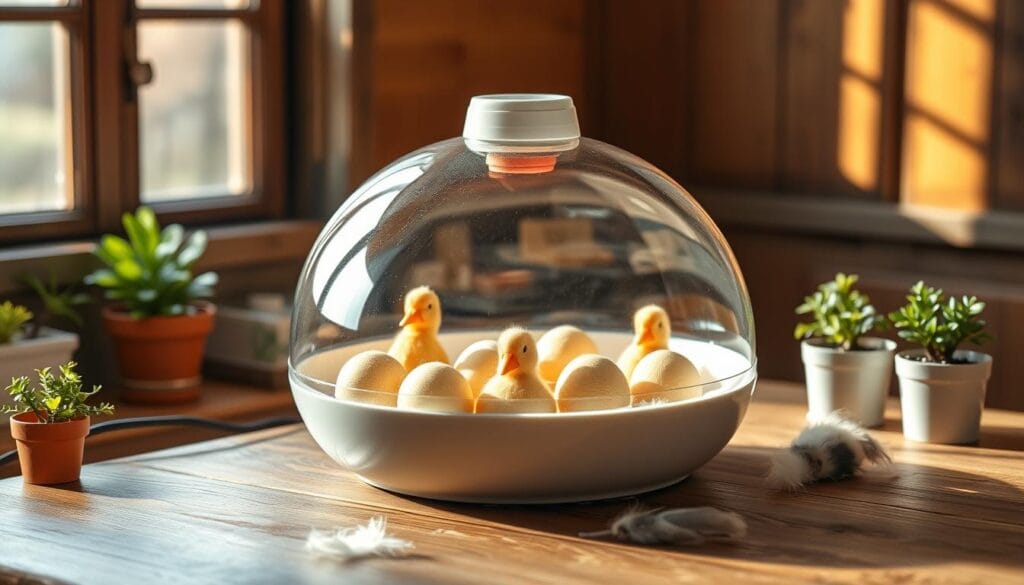
For the incubation of duck eggs, having the best duck egg incubator is key. It must control temperature, humidity, and turning. Here’s how to get ready for a successful duck egg incubation process.
First, know what duck eggs need. The ideal incubator temperature is 99 degrees Fahrenheit. Humidity should be between 45% and 55%. Also, eggs need to be turned 180 degrees every eight hours to develop evenly.
- Choosing the Right Incubator: Look for features like a built-in fan and automatic turner. These help keep the temperature stable and improve hatch rates.
- Incubation Period: Different duck breeds hatch at different times. Mallard eggs hatch in 26.5 to 27 days. Runner eggs take about 28.5 days.
- Monitoring Development: Candling eggs around day 4 checks if embryos are growing right. This early check helps adjust conditions if needed.
Also, commercial hatcheries have a 70% to 75% hatch success rate. Improving your setup can boost your hatch rates.
To wrap it up, picking the best duck egg incubator and following best practices are crucial. The joy of hatching ducklings begins with the right preparation and tools.
Duck Egg Incubation: Step-by-Step Guide
Starting the journey of hatching duck eggs is a rewarding experience. It brings life full circle. By keeping the right temperature and controlling humidity, you can create a perfect environment. This helps the duck embryos develop successfully through different stages.
Setting the Stage: Temperature and Humidity Control
The right incubation conditions for fertile duck eggs are crucial. The temperature should be between 99.3 and 99.6 degrees Fahrenheit. Humidity levels need to be between 45% to 55% most of the time. As hatching nears, increase it to 65%.
These conditions mimic the warmth and humidity a mother duck provides. It’s essential for healthy embryo growth.
The Art of Turning Eggs: Timing and Techniques
Turning duck eggs is vital for incubation. It prevents the embryo from sticking to the shell and ensures even warmth. Turn the eggs an odd number of times a day for best results.
Using automated egg turners can mimic a mother duck’s gentle movements. Marking each egg helps keep track of the turning schedule. This ensures no egg is missed.
Incubating duck eggs carefully mimics a mother duck’s care. It combines science with nature’s instinct. By following these steps, from temperature control to turning, you ensure life continues. You get to see the miracle of new beginnings.
Starting with clean but unwashed eggs helps. Candling regularly checks development and potential issues. This careful approach gives each egg the best chance to hatch into a healthy duckling.
Candling Duck Eggs: Observing Embryo Growth
Learning to candle duck eggs is key for duck breeding success. It’s also vital for backyard duck farming. This method lets you see how the embryo grows. It also checks if the ducklings are healthy and ready to hatch.
At the start of incubation, keeping the right temperature and humidity is important. Your incubator should be at 99.5°F. Start with humidity at 50-55%. As hatching gets closer, increase humidity to 65-70% to help the ducklings break free.
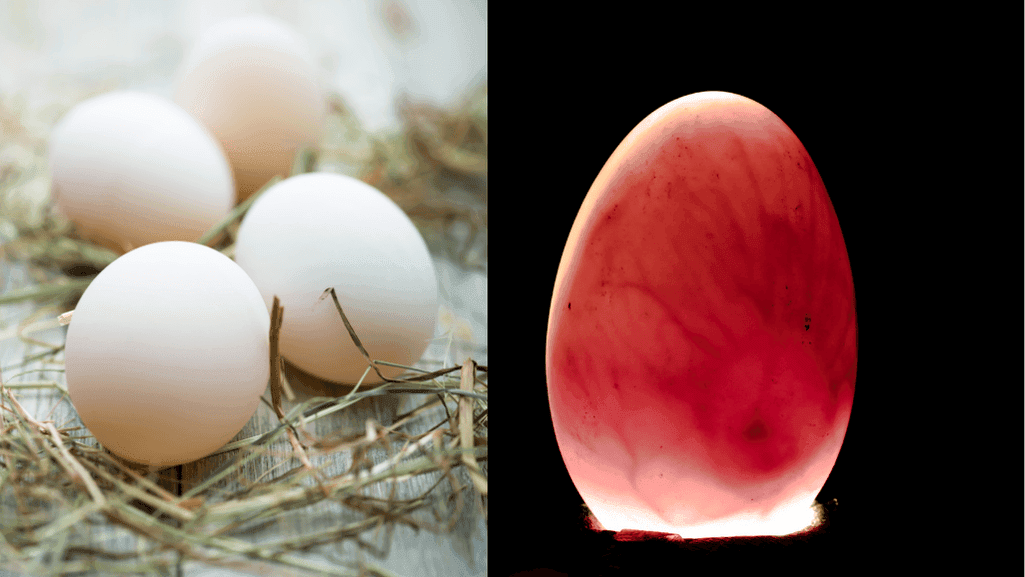
Duck egg candling means shining a light through the egg to see inside. It’s best done between days 7 and 10. This is when you can see blood vessels, showing the embryo is alive and growing.
| Parameter | Optimal Condition | Observation Tips |
|---|---|---|
| Light Source | LED technology | Provides bright light with minimal heat, reducing the risk to the embryo. |
| Incubation Temperature | 99.5°F | Constant monitoring to prevent embryo stress. |
| Humidity Before Hatching | 50-55%, then 65-70% | Raise three days prior to hatching to aid the hatching process. |
| Egg Turning Frequency | At least five times every 24 hours | Use an automatic turner for consistent turning, reducing manual errors. |
| Candling Period | Day 7-10 of incubation | Key time to check for embryo viability and development. |
Accurate candling can greatly lower the risk of late embryonic deaths. It ensures embryos grow in the best conditions. It’s a special part of duck breeding that lets breeders feel closer to the process. It makes hatching more successful and joyful, as you see new life emerge.
Duck Hatching Eggs: The Big Day Approaches
As the big moment gets closer in the duck egg hatching process, it’s key to spot the signs of duckling hatching. Make sure the environment is ready for them. Knowing these important steps can make a big difference in your hatching success.
Recognizing the Signs of Imminent Hatching
The hatching duck eggs journey hits a key point with the ‘internal pip.’ This is when the duckling breaks through the egg’s inner membrane into the air cell. It’s a crucial step before the first crack in the shell.
After the internal pip, there’s a 12-24 hour wait. During this time, the duckling gets ready for the next step—zipping. Zipping is when the duckling makes a circular crack around the egg’s wider end. This is a key step before the final breakout.
Look for slight movements and listen for faint peeping sounds from the eggs. These signs mean the ducklings are working their way out. Guides like Salt In My Coffee show how important this stage is. Knowing what to expect can greatly improve your chances of successful hatching.
Maintaining Optimal Conditions to the Finish Line
The duck egg incubation period needs steady temperature and humidity. But the last days need extra care to keep the conditions right. Humidity is especially important to help the chick move and prevent the membrane from sticking too much.
As the end approaches, you might need to make adjustments. Ducks New World offers tips on duck breeding and incubation. They stress the need for a stable, controlled environment for the ducklings to hatch safely.
The final stages in the duck egg hatchery are both exciting and challenging. The eggs are very sensitive to their surroundings. Even small changes in temperature or humidity can affect the outcome.
Every stage of the duck egg hatching process is vital for the ducklings’ growth and survival. By providing the best conditions and understanding their needs, you can help them hatch strong and healthy. This marks the end of a rewarding journey.
Nurturing Ducklings Post-Hatching
Successfully raising ducks from hatched eggs needs careful care from the start. It’s about keeping them warm and giving them the right food. The first weeks are key to growing strong ducklings.
At first, keep the ducklings warm like they were in the egg—about 99.5 degrees Fahrenheit. As they get bigger, you can lower the temperature. They need time in the incubator before moving to a bigger space, about 24 hours after hatching.
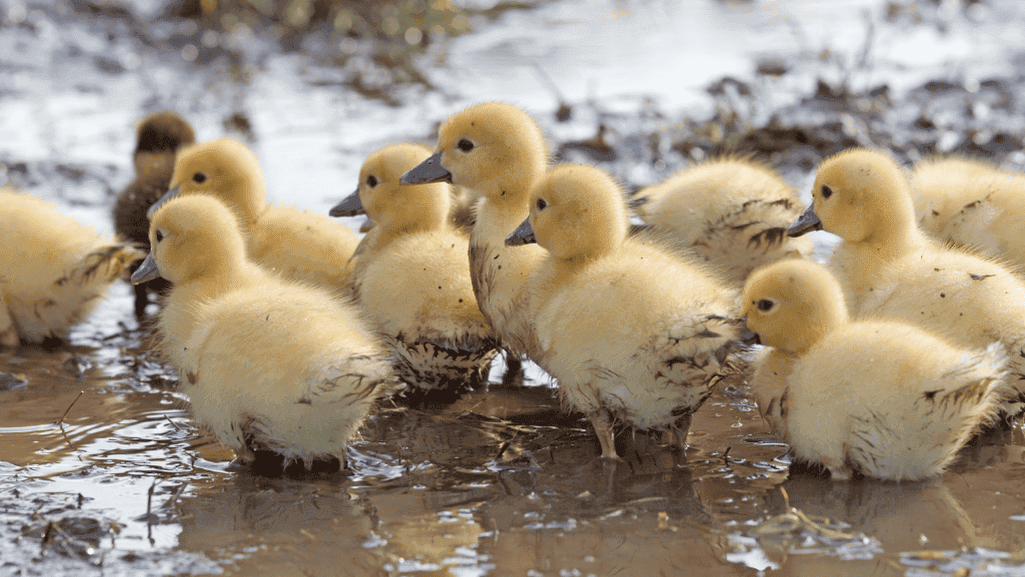
For duckling care, make sure they have clean water and the right food in the first 24 to 48 hours. Use starter feed made for ducklings to help them grow strong and healthy. Learning about backyard duck egg hatching helps them thrive at home.
Providing heat, hydration, and nutrition are key in raising ducklings from eggs
- Maintain incubation conditions initially
- Introduce proper feeding early
- Regulate heat as they grow
Learning more about raising ducks from hatched eggs helps a lot. Guides like those from Ducks New World give you the knowledge you need.
| Aspect | Incubation | Post-Hatching |
|---|---|---|
| Temperature | 99.5 degrees Fahrenheit | 99.5 degrees Fahrenheit (Gradually decrease) |
| Humidity | 30% initially, 75% during lockdown | Less critical, but keep ducklings dry |
| Feeding Starts | Not applicable | 24-48 hours post-hatch |
| Yolk Absorption | Occurs in shell pre-hatch | Completes 24 hours post-hatch |
| Initial Care Duration | Up to hatching | Continues until independence |
Nurturing ducklings after they hatch is rewarding but also challenging. Using reliable resources helps you care for them well. Remember, the early days are crucial for their health and happiness.
Overcoming Obstacles in Duck Egg Hatching
In the world of duck egg hatching, backyard farmers face many challenges. They must watch closely from the first pip to the final zip. It’s not just about keeping the right conditions. It’s also about knowing how to handle problems like stuck ducklings or weak chicks.
Dealing with Hatching Issues: From Stuck Ducklings to Weak Chicks
Many issues can arise during hatching, like when a duckling needs help getting out of the egg. Knowing when a duckling should hatch is crucial. If no progress is seen, sometimes help is needed.
Raising ducks for hatching eggs means being very attentive, especially when ducklings start to pip. It’s important to know when to step in. Too soon, and you might hurt the duckling. Too late, and it could get too tired or stressed. Timing is everything in assisted hatching.
Predator Prevention and Safety Measures for Your Flock
Keeping ducklings and ducks safe from predators is also key. Backyard duck farming means creating a safe space and protecting it from predators. Strong fences, covered areas, and watching closely can help keep your flock safe and healthy.
| Stage | Normal Duration | Assisted Intervention |
|---|---|---|
| From internal to external pip | 24 hours | If exceeds 24 hours |
| From external pip to start of zip | Up to 48 hours | If exceeds 48 hours |
| Zipping to full hatch | Few minutes to several hours | Monitor for distress |
Keeping ducklings safe and the whole flock healthy is essential for backyard duck farming. By watching closely, acting quickly, and keeping predators away, farmers can raise healthy ducks.
Backyard Duck Farming: Eco-Friendly and Rewarding
Backyard duck farming is becoming a big hit in eco-friendly poultry practices. It meets the growing need for sustainable farm products. Raising ducks for hatching eggs is both fulfilling and good for the planet.
Ducks are great for egg production. For example, Khaki Campbell ducks lay 250-340 eggs a year. This is more than many other birds. Whether you want Swedish Blue ducks, which lay 130-180 eggs, or Welsh Harlequin ducks, which lay 200-300 eggs, there’s a breed for you.
| Breed | Eggs Per Year | Notes |
|---|---|---|
| Pekin | 150-200 | Popular for both meat and eggs. |
| Indian Runner | 200-300 | Excellent foragers and layers. |
| Cayuga | 100-150 | Known for their iridescent feathers and quiet nature. |
| Buff Orpington | 150-220 | Docile and great for beginners. |
The joys of duck husbandry go beyond just eggs. Using crushed eggshells in the ducks’ food is a smart move. It makes their eggs stronger and adds important minerals to their diet. This boosts their health and the quality of their eggs.
Backyard duck farming does more than just feed people. It creates a cycle of sustainability that helps ducks, the environment, and farmers. It’s a journey filled with joy and rewards, from watching a new flock grow to enjoying fresh, organic eggs.
Want to start your own duck farm or improve your current one? Check out Lisa Steele’s advice on duck husbandry. Her knowledge will help you make your venture in backyard duck farming a success. It will also be good for the planet and very rewarding.
Elevating Your Hatching Skills: Expert Tips
Starting to raise ducks from eggs needs dedication, skill, and a love for learning. With the right advice and a drive to mastery in duck hatching, you can turn your hobby into a successful duck farming business. This part talks about using experience and proven methods to improve your hatching skills to a professional level.
Mastery through Experience: Learning from Every Hatch
Each hatching cycle teaches you something new. You learn about temperature, humidity, egg turning, and timing. Learning from experience and using best practices for hatching duck eggs are key. Places like North Star Poultry, with thousands of hatches a year, show how important practice is.
Different birds, like chickens and waterfowl, need different hatching conditions. Knowing this helps you make better adjustments. This leads to better incubation expertise.
From Hobby to Passion: Building a Duck Egg Hatchery
Turning a hobby into a professional duck breeding business shows real commitment. Companies like Brinsea since 1976 prove it’s possible to grow your hatching as a passion into a successful duck egg hatchery. Using better incubation methods increases productivity and hatch rates, helping your duck farming business grow.
| Incubation Requirement | Details |
|---|---|
| Recommended Storage Time | Maximum 14 days in cool conditions with daily egg rotation |
| Optimum Hatching Conditions | Temperature at 37.3°C for ducks, Humidity around 45-55% for specific breeds |
| Weekly Egg Weight Loss Target | 5.6 grams for Dewlap Toulouse eggs |
| Advantages of Batch Setting | Setting at least six eggs enhances hatching success rates |
| Embryo Development Observations | Visible through candling: vessel growth, amniotic sac, and membrane development |
In conclusion, whether you’re improving your expert hatching tips or growing a commercial hatchery, the key is expertise, precision, and adjusting to best practices. These values ensure your hatchery’s success and capture the essence of professional duck breeding.
Conclusion
Duck egg farming starts with hatching ducklings from eggs. It’s a rewarding and educational journey. We learn to appreciate nature’s rhythm through this process.
Duck eggs have a natural fertility rate of 85%. This makes backyard duck hatching a promising venture. This guide helps us understand how to care for eggs and watch them hatch into lively ducklings.
Recent studies use advanced technology to check egg fertility. This method is over 90% accurate. It helps us hatch eggs more successfully, whether we’re backyard enthusiasts or professional farmers.
By using new methods and old practices, we can create a great environment for our ducks. This ensures their health and well-being.
The journey of incubating duck eggs is full of wonder and challenges. It’s a patient art that brings joy when healthy ducklings are born. Whether you’re starting small or big, combining tradition, technology, and care makes the cycle of life beautiful.
Now, you can start your own journey of nurturing and growth. It’s a chance to care for your flock and protect the environment. Let’s begin our personal story of nurturing and growth with our new ducklings.


