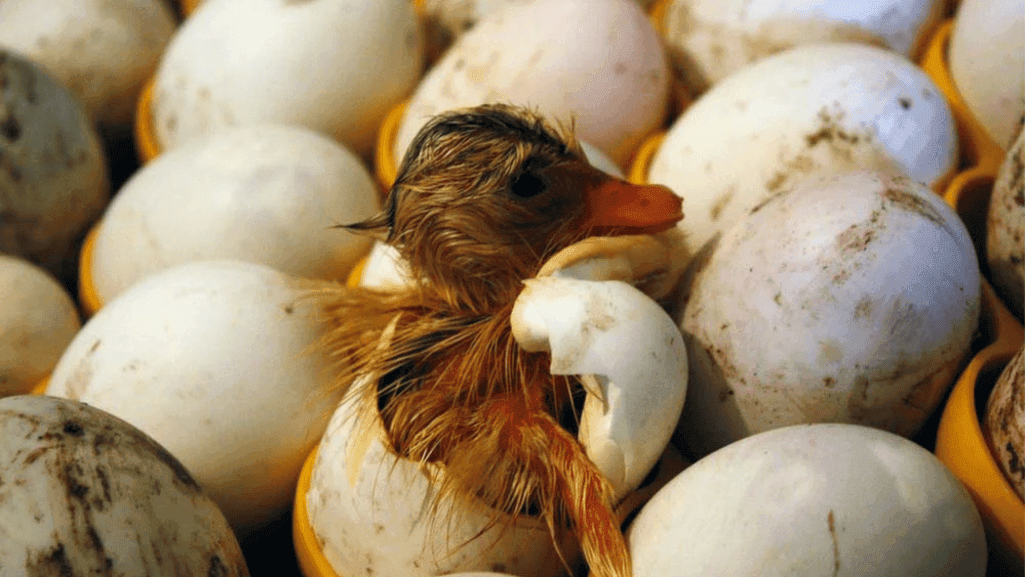
Welcome to the world of duck egg candling, a key skill for those raising waterfowl. A duck egg candling chart is a must-have, showing the important stages of duck embryo growth. Our guide to candling duck eggs will help you understand and use the candling process for fertility. This will increase your chances of a successful hatch.
Are you curious about the duck egg development stages? Or do you need expert advice? This section offers insights into caring for duck eggs, based on knowledge from experienced professionals on ducks and their homes.
Key Takeaways
- Mallard duck eggs need about 26-29 days in the right incubation conditions to hatch.
- Keeping the incubator at 99.5°F (37.5°C) and 55% humidity is key for successful development.
- Turning eggs often, 3-7 times a day, helps them hatch better.
- Using a flashlight to candle eggs after a week helps track growth.
- Knowing how to adjust temperatures and humidity in late incubation is crucial.
- For more on hatching ducklings, check out this detailed guide.
- Remember, ducklings have special needs compared to chicks, like being ready for cold and needing the right food.
Understanding Duck Egg Incubation Requirements
To ensure successful hatching of duck eggs, it’s key to understand their specific needs. This includes incubation times, temperature, and humidity. Duck eggs have their own rules, unlike chicken eggs. So, it’s vital to follow a detailed incubation chart for duck eggs.
Incubation Period Differences Between Duck and Chicken Eggs
Duck eggs need about 28 days to incubate, while chicken eggs take 21 days. This longer incubation time is crucial for planning your hatching schedule.
Optimal Humidity and Temperature for Duck Eggs Incubation
Keeping the right environment is essential for hatching duck eggs. The ideal temperature is between 99.3°F and 99.6°F. Any big change in temperature can harm the embryos.
For humidity, duck eggs need 45-55% throughout most incubation. But, increase it to 65% in the last days to help the duckling hatch.
Keeping a close eye on these factors is crucial for successful hatching. Following these guidelines ensures healthy and viable ducklings.
Starting Your Duck Egg Hatching Journey
Starting to hatch duck eggs is exciting and full of hope. You can use a broody duck or an incubator for duck eggs. Knowing how each method works is key to getting good hatch rates.
Deciding Between a Broody Duck and an Incubator
Deciding between a broody duck and an incubator depends on what you have. A broody duck is natural but not everyone has one. An incubator for duck eggs lets you control temperature, humidity, and egg turning, which are important for hatching.
If you don’t have a broody duck, incubators are a great choice. They create the right conditions for hatching. Whether you use a broody duck or an incubator, knowing how to care for fertilized duck eggs increases your chances of getting new ducklings.
Acquiring Fertilized Duck Eggs for Hatching
If you don’t have a male duck, you’ll need to get fertilized duck eggs. Places like Metzer Farms offer eggs with at least 80% fertility. Be aware of prices and shipping conditions to keep the eggs safe.
After getting the eggs, keep them in the best conditions. Store them at 55 to 60 degrees Fahrenheit with 70 to 80 percent humidity. Start incubation within 10 days for the best results.
Starting this journey, whether with a broody duck or an incubator, takes commitment. With an incubator, you’ll need to watch and adjust daily. Using a broody duck means less work but you must watch her health. Either way, watching fertilized duck eggs turn into lively ducklings is a special experience.
Preparing Duck Eggs for Incubation: Do’s and Don’ts
When you plan to incubate duck eggs, following key practices is crucial. Proper handling and storage are essential. We’ll explore how to prepare duck eggs for incubation.
The Importance of the Egg’s ‘Bloom’
The egg’s natural defense, or ‘bloom’, is a protective coating. It keeps bacteria out and helps keep moisture in. It’s important not to wash the eggs to keep this coating intact.
Cleanliness and Storage of Fertilized Eggs
Storing fertilized duck eggs correctly is key. Place them pointy end down in a cool, not too humid spot for 7 to 10 days. This keeps the yolk centered and the air cell intact, vital for the embryo.
It’s important to handle eggs with clean hands to avoid bacteria. Rough handling can harm the embryo. So, turn eggs gently if needed and avoid sudden movements. Use a fertility chart to plan your storage and handling.
For more on hatching duck eggs, visit Ducks New World. They offer valuable insights for duck rearing.
Following these guidelines ensures your eggs are ready for incubation. Knowing how to candle duck eggs during incubation is also important. But, preparing the eggs properly is just as crucial for successful hatches.
Egg Candling Guide: When and How to Candle Duck Eggs
Learning about the candling process is key for duck egg hatching. You can use a DIY egg candler or a flashlight. Candling helps check the health and growth of embryos inside the eggs.
First, check eggs before putting them in the incubator for cracks. Eggs with cracks can get infections. They should be sealed with beeswax or thrown away. Candling is important at days 5, 14, and just before stopping egg rotation at day 18.
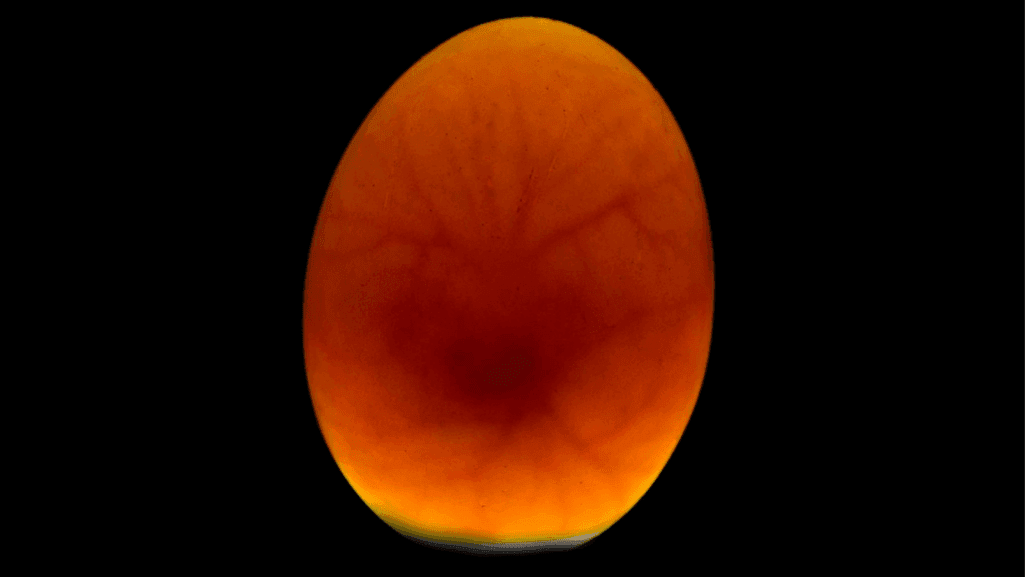
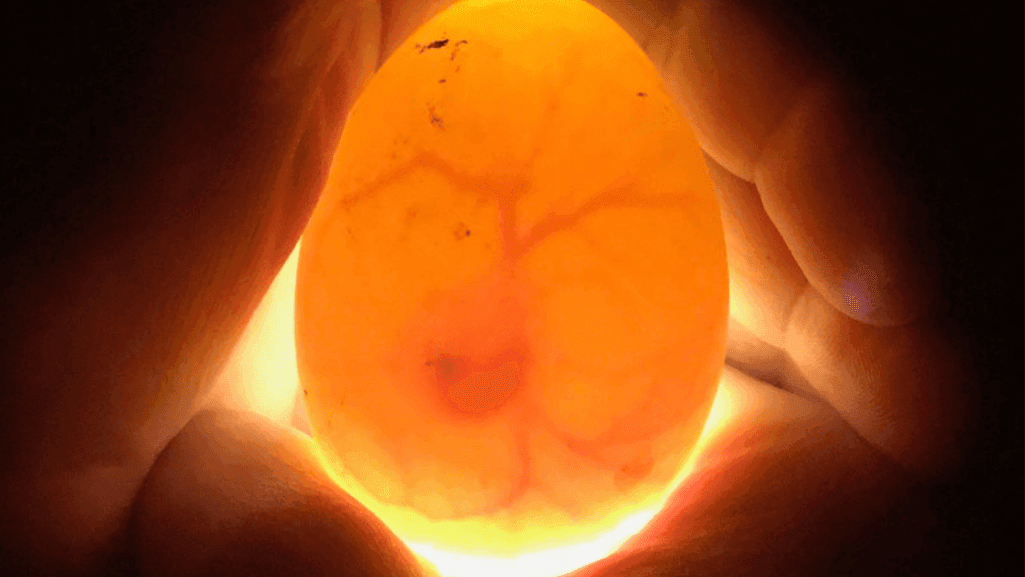
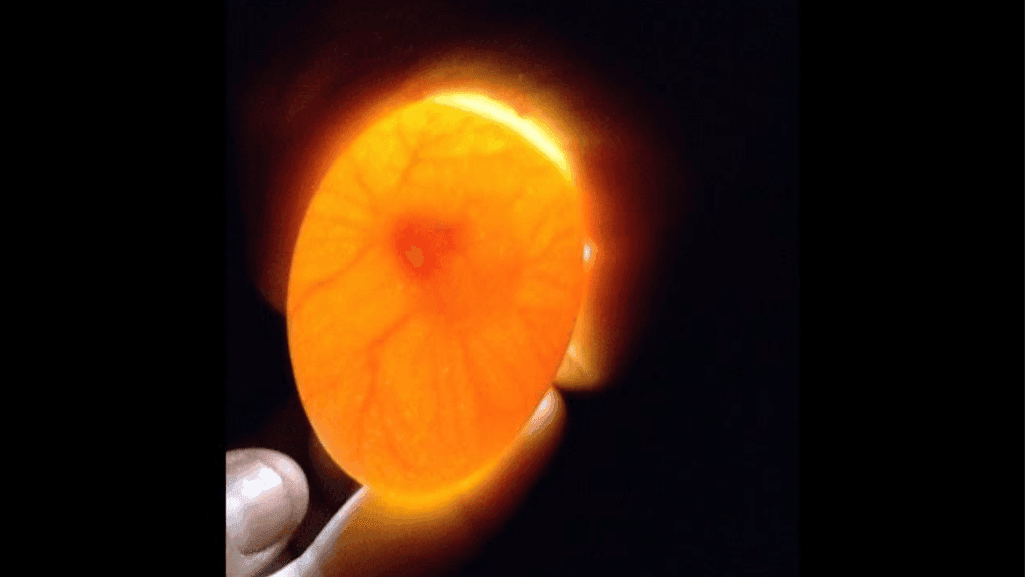
In the candling process, look for embryo signs. A fertilized egg shows blood vessels from a dark spot – the embryo – by day 5. By day 14, the embryo is clearer and bigger. Infertile eggs stay clear, and stopped development eggs show a ‘blood ring’.
- Day 5: Checks for embryo’s initial development and clears infertile eggs.
- Day 14: Major growth observed, embryo occupies more space.
- Day 18: Final check before stopping egg rotation.
| Day | Observation | Action Required |
|---|---|---|
| 5 | Initial signs of the embryo | Remove clear (infertile) eggs |
| 14 | Expanded embryo, visible blood vessels | Continue incubation, monitor for irregularities |
| 18 | Full embryo size, less egg space | Stop turning eggs, prepare for hatching phase |
Good candling means not doing it too much to avoid harming the embryo. Use LEDs for bright, cool light. The egg candling guide on poultry forums helps a lot.
Following these tips helps most duck eggs hatch well. Make sure eggs lose about 13% weight by day 25. Watching their growth increases the chance of seeing ducklings hatch.
The Candling Process for Fertility and Development
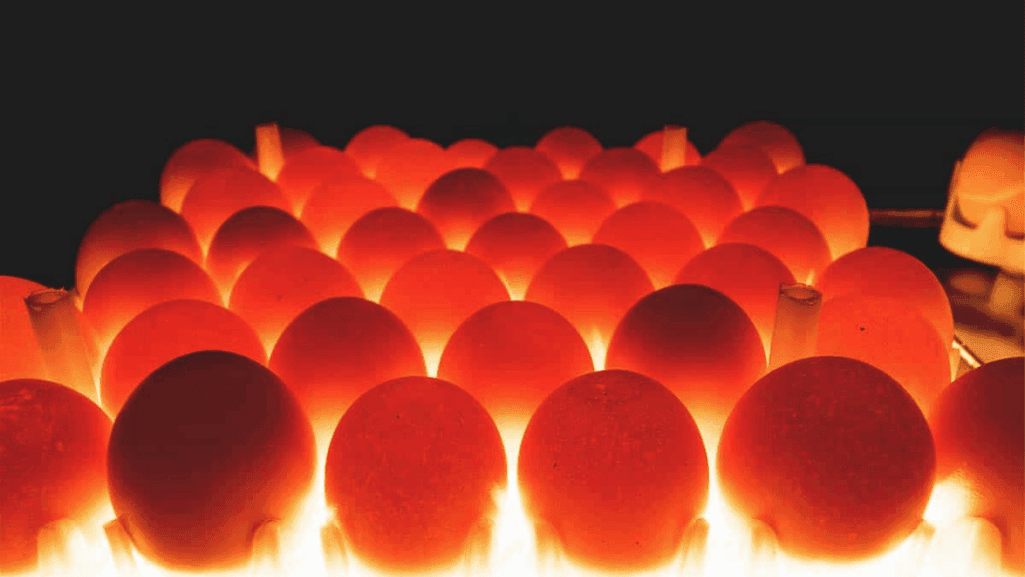
Candling duck eggs is both fascinating and vital. It lets you see signs of life and track embryo development. This method is key for duck egg fertility testing and helps in breeding programs or hobbies.
Interpreting Signs of Fertility in Duck Eggs
Learning to read duck egg candling results starts with spotting fertility signs. A fertile egg shows a complex network of blood vessels by the third day. These veins should be clear and well-defined, showing the embryo’s viability.
By day three, if the eggs are fertile, you should see these signs. This is the first step in candling duck eggs day by day.
But fertility signs aren’t just veins. You also look for embryo growth, air cell changes, and even embryo movement. These signs are exciting but need patience and precision.
Tracking Embryo Development Stages with Candling
As incubation goes on, duck egg fertility testing turns into tracking embryo development. By day 12, you can see embryo movements. By days 22 to 25, the embryo fills most of the egg, and you might see its bill moving.
Watching these details helps plan incubation. For those who candling duck eggs day by day, these signs guide them. They show if the eggs are on track to hatch.
Getting good at candling takes care and consistency. It’s a skill that gets better with time and practice.
Creating a Conducive Environment for Egg Incubation
Effective incubation is key to hatching duck eggs. The right environment is crucial for success. Knowing about temperature, humidity, and egg turning is essential.
Setting Up a Controlled Temperature and Humidity Incubator Space
For duck eggs, keep the temperature at 99.5 degrees Fahrenheit. Humidity should be 58% to 62%. These levels are vital for development and hatchability.
During hatching, humidity needs to rise to 66% to 75%. This is specific to the incubating species. Setting up an incubator is more than just setting these conditions. It’s about choosing a draft-free, sunny spot.
Experts in avian studies provide detailed guidelines. Resources like “Hatching Duck Eggs” and “Incubating and Hatching Eggs” are essential. They help create a scientifically structured incubation space.
The Necessity of Turning Eggs and Manual vs. Automatic Methods
The debate on manual vs automatic egg turning is ongoing. Manual turning can strengthen the bond between breeder and eggs. It offers more control.
Experts suggest turning eggs three times a day. This prevents the embryo from sticking to the shell. Until three days before hatching, eggs should be turned regularly.
Automated systems reduce hands-on effort but need careful management. They must follow the duck egg hatching chart. Whether manual or automated, the goal is to mimic natural motherly turning.
By controlling the incubation environment and choosing the right egg-turning method, breeders can improve hatch success. Following these practices ensures the best environment for incubation, as studied in aviculture.
Duck Egg Candling Chart: Day-by-Day Observation
For those who love poultry, knowing the candling stages of duck eggs is key to a successful hatch. A detailed duck egg development chart offers valuable insights into each day of the 28-day incubation. By doing incubating duck eggs candling, you can see the embryo grow and adjust the incubation as needed.
Important milestones include seeing blood vessels on Day 3, embryo movement by Day 7, and air sac growth as the duckling matures. These details help when using duck egg candling tips to check on the duckling’s health and growth.
| Incubation Day | Expected Development | Observation Tips |
|---|---|---|
| Day 3 | Appearance of blood vessels | Check for spider-like formations indicating fertility |
| Day 7 | Embryo movement | Gentle rotations should show slight movements |
| Day 10 | Increased vascularization | Ensure clear visibility of blood vessels |
| Day 14 | Growth of the air sac | Confirm expanding air cell towards the blunt end of the egg |
| Day 18 | Chick positioning for hatch | Increase humidity to 65% to facilitate the hatching process |
| Day 21 | External pipping begins | Listen for initial pecking sounds; minimal interference |
| Day 28 | Hatch | Monitor for successful emergence and dry off ducklings |
By comparing actual growth to the duck egg development chart, you can adjust temperature or humidity as needed. Regular candling, especially on Days 10 and 18, is crucial for successful hatching.
Watching and recording the candling stages of duck eggs not only teaches but also makes the hatching process more exciting.
Identifying and Addressing Issues During Incubation
When incubating duck eggs, knowing how to read candling results is key. It helps avoid problems that could stop embryos from hatching. Using an accurate duck egg candling guide lets you catch issues like cracked shells or dead embryos early.
Spotting and Sealing Cracks
Cracked eggshells are a common problem during incubation. A hatching eggs guide can teach you to spot these cracks early. Fixing them with softened beeswax keeps bacteria out and helps the embryos inside stay healthy.
Dealing with Early Dead Embryos and Infections
It’s important to spot dead embryos early to keep other eggs safe. A good accurate duck egg candling guide shows you how to look for signs like missing blood vessels. Removing dead eggs quickly stops infections from spreading and helps healthy embryos grow.
| Incubation Issue | Identification via Candling | Recommended Action |
|---|---|---|
| Cracked Egg Shell | Visible fault lines on shell surface | Seal with beeswax; monitor for further damage |
| Early Dead Embryo | No blood vessel movement; dull inside color | Remove to avoid contamination |
| Infections | Discoloration or foul smell | Isolate and dispose of the egg carefully |
For more detailed guidance on duck egg candling and hatching, check out Raising Ducks. They offer insights into early dead embryo spotting and other incubation challenges.
Incubating duck eggs requires patience and skill in reading candling results. This not only boosts hatching success but also ensures the health of the ducklings. Learning and observing these techniques is essential for successful duck egg hatching.
Best Practices for Candling Duck Eggs
To get the best results, it’s key to use the best candling methods for duck eggs. This part talks about the right tools, methods, and settings for candling. Following these tips can really help your duck egg incubation succeed.
Optimal Equipment and Techniques for Effective Candling
First, pick the right tools for candling duck eggs. A good candling lamp, like a mini Maglite or a special candler, is a must. These lamps give strong, focused light to see inside the egg without hurting it. To candling right, darken the room and shine the light on the egg’s big end, where the air sac is.
Be gentle to avoid overheating the egg. This could hurt the growing embryo.
Maintaining Ideal Candling Conditions
For the best candling, keep the conditions right. The room temperature should be steady to avoid sudden changes. Also, keep the humidity at 45-55%, going up to 65% when the eggs are hatching. Don’t candling too often, as it can mess with the egg’s temperature and harm the embryo.
Here’s a table with important facts about duck egg incubation and candling:
| Incubation and Candling Fact | Details |
|---|---|
| Optimal Candling Days | Days 4, 7, 14, 21 |
| Incubation Temperature | 99.3 – 99.6°F |
| Incubation Humidity | 45% – 55%, increasing to 65% during hatch |
| Egg Turning Frequency | Odd-numbered times per day |
| Pre-incubation Egg Storage | Up to two weeks |
Using the best candling techniques and keeping conditions right can really boost your hatch rates. Stick to these practices and check the best candling chart for duck eggs often. This way, you’ll get healthier ducklings and better results.
Candling Duck Eggs at Home: A Step-by-Step Tutorial
Learning how to candle eggs at home is key for anyone in the duck egg hatching guide. This guide will teach you the egg candling process. It helps check the health and growth of your eggs. Candling at home lets you see how the embryo is doing and spot problems early.
To start candling eggs at home, you need a good light source. A flashlight or candling lamp works well. Make sure your hands are clean to avoid oils that could harm the eggs.
Make the room dark to see the egg’s shadow when lit. Hold the egg with the big end up. Then, place the light close and slowly turn the egg to see inside.
When candling, look for signs of growth like veins in a spiderweb pattern. This is usually seen after 7 days in the incubator. Keep the light low to avoid heating the egg.
The table below shows the steps for egg candling. It also talks about important things like temperature and turning for a successful duck egg hatching guide.
| Step | Activity | Importance | Tip |
|---|---|---|---|
| 1 | Set up the candling lamp or flashlight. | Provides the light source to view egg contents. | Use LED lights for better clarity and less heat production. |
| 2 | Wash and dry hands thoroughly. | Prevents contamination of eggs. | Avoid using strongly scented soaps that may leave a residue. |
| 3 | Darken the room. | Improves visibility of the egg’s interior during candling. | Use blackout curtains or perform during nighttime. |
| 4 | Place the egg near the light source. | Helps in checking embryo development. | Rotate the egg gently to see various angles. |
| 5 | Look for developmental markers. | Assesses the viability of the embryo. | Mark non-viable eggs and remove to avoid bad smells. |
| 6 | Return egg carefully to the incubator. | Maintains environmental stability for embryo growth. | Handle with care to avoid shaking. |
This candling eggs at home process boosts your hatch success. It also deepens your understanding of embryo growth. Make it a regular part of your duck egg hatching guide to keep your eggs healthy and viable.
Conclusion
Mastering the candling process and understanding duck egg incubation leads to better hatching rates. It also gives a deeper look into how birds develop inside eggs. Using a detailed duck egg hatching chart helps breeders and fans improve their chances of success.
Fertility testing for duck eggs is crucial. It shows if an egg can develop into a duckling. This step is key to knowing if an egg is viable.
Candling is very important in incubation, with a 92.06% accuracy in spotting healthy embryos. These embryos move when light is shown to them. Candling also warns of problems like cracked eggs and early death of embryos.
Marking eggs and using new technology like LED lights and image systems have changed fertility testing. These methods make testing more efficient and reliable. They show how important innovation is in farming.
Learning about candling for duck eggs is an art that needs careful watching and planning. Duck farming is growing, especially in the Philippines. Mastering this skill means better fertility, care, and profits.
The move towards automation and accuracy in candling is not just science. It’s about humans working with nature’s cycles. It shows how we can improve together with nature.


