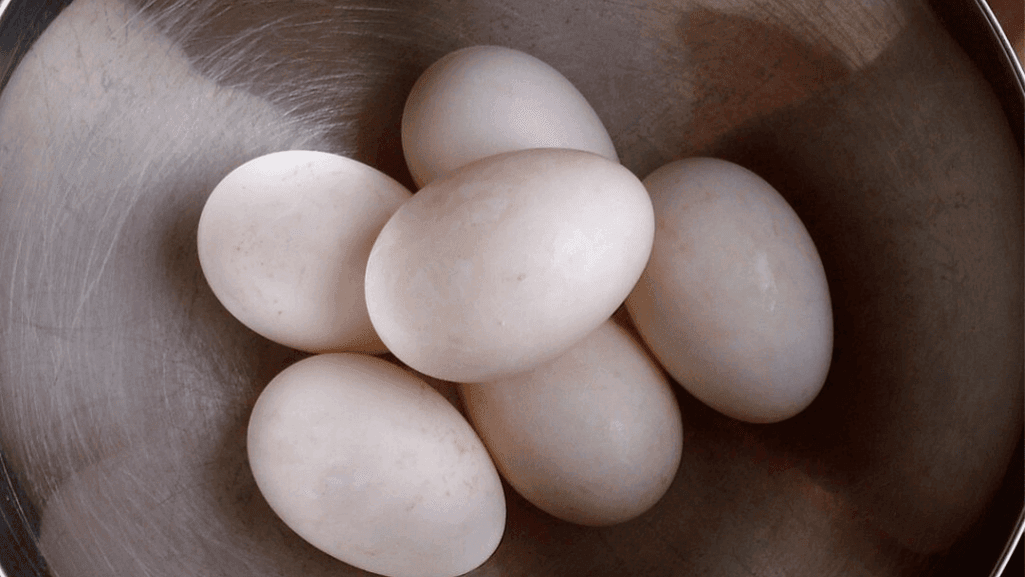
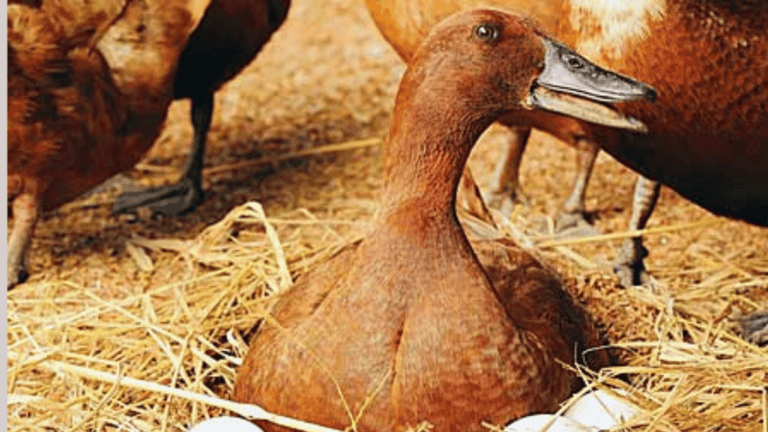
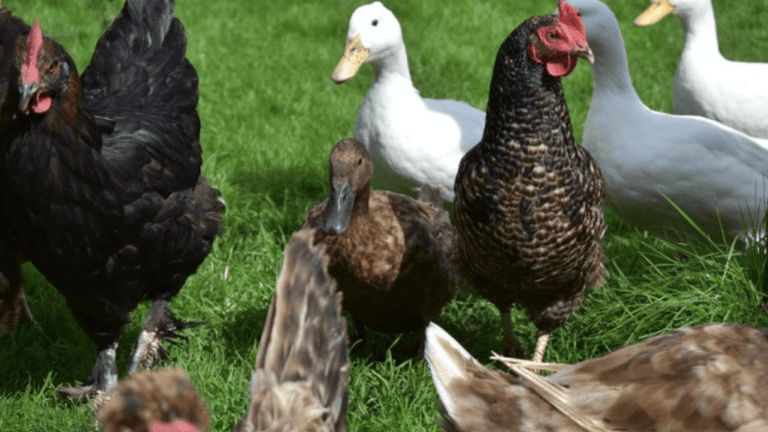
Learning about avian incubation adds joy to raising backyard poultry, especially with Call ducks. Knowing the call duck incubation period is key. Call ducks have a unique hatching time, lasting 26 to 27 days. Care and precision are crucial for successful hatching, especially with incubators.
Successful hatching depends more on incubator settings than on the eggs. Whether you’re new or experienced in backyard poultry, the journey from egg to hatchling is rewarding.
Key Takeaways
- The call duck incubation period lasts approximately 26-27 days, a week longer than chicken eggs.
- High success in hatching ducks involves meticulous control of temperature and humidity within incubators.
- For beginners, leveraging experience from hatching chicken eggs can serve as a foundation for hatching duck eggs.
- Careful handling of eggs, such as not washing them to maintain the protective bloom, is critical.
- Using beeswax for minor eggshell repairs can improve the chances of hatching.
- Monitoring and maintaining egg placement and orientation at the outset is crucial for embryo development.
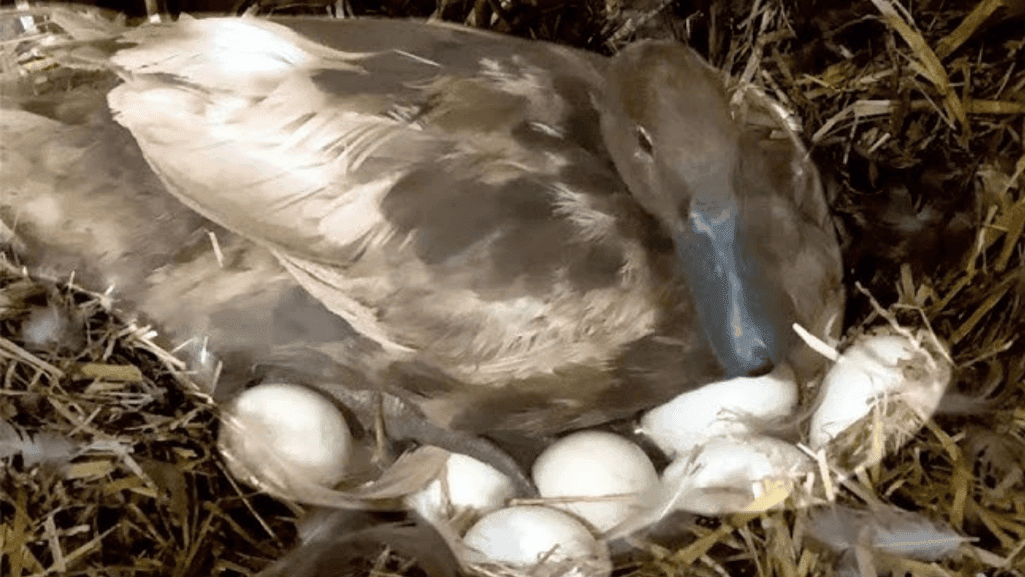
- Choosing between a broody duck and an incubator can yield different rates of hatching success, influencing the approach to backyard poultry reproduction.
Understanding the Call Duck Incubation Timeline
The call duck incubation period is key in duck breeding. It needs careful attention and a deep commitment to waterfowl care. Call ducks have unique needs that require a well-informed approach for successful hatching.
Typical Duration for Call Duck Eggs
The call duck incubation period lasts about 26 days. This is a bit shorter than other waterfowl. It’s vital to set up the right temperature and humidity during this time.
Keeping the incubation temperature at 99.5°F can greatly improve hatching success. Also, starting lockdown a few days early can help. For more tips on managing eggs and adjusting incubation settings, check out these helpful techniques.
Comparison to Other Waterfowl Species
Compared to call ducks, Mallard ducks need about 28 days, and Muscovy ducks up to 35 days. These differences show why knowing the specific avian incubation needs of each species is crucial. Waterfowl care experts should remember that different species spend varying amounts of time on the nest.
For example, large geese spend almost all of the incubation period on the nest. This shows their deep commitment to their young.
To learn more about ducks and their conservation, including duck breeding, Ducks New World has lots of.
Setting Up Your Incubator for Success
Starting to incubate call duck eggs needs careful attention to incubator setup. The right environment is key for success in the call duck incubation period. Here’s a detailed guide to get your incubator ready. It’s based on methods that boost hatch rates and keep ducklings healthy.
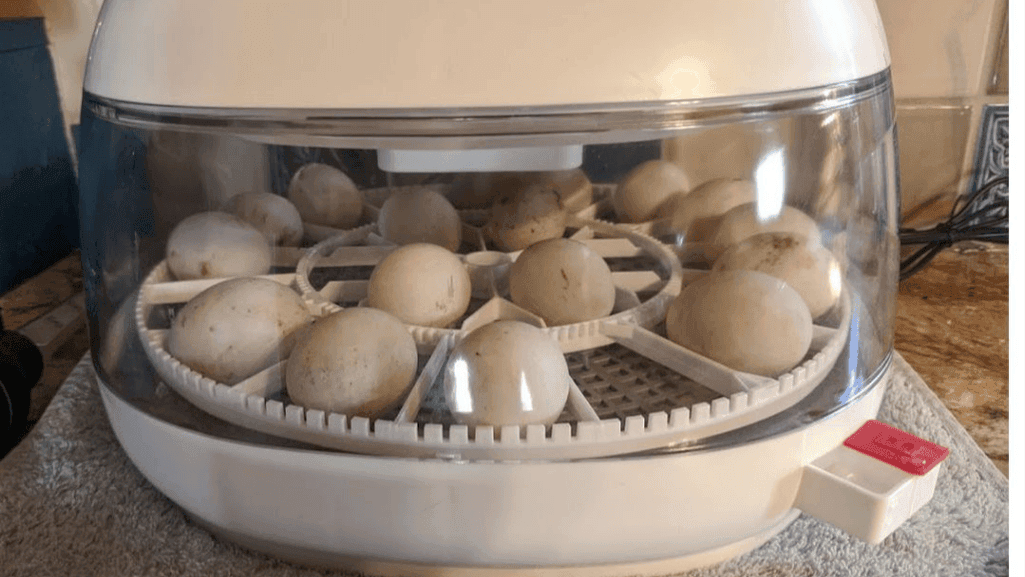
Incubator Preparation: First, place your incubator in a spot without drafts or temperature changes. The location affects the incubator’s internal environment, which is crucial during incubation. Before adding eggs, set the incubator to 99.5°F and humidity at 55-58%.
Egg Placement: Let eggs adjust to room temperature with the pointy end down before placing them. This helps the yolk stay in the right position for better growth. Also, follow backyard poultry advice to turn eggs around 24 days into incubation. This stops about a week before hatching.
- Check and adjust the temperature every day.
- Keep an eye on humidity, adjusting it as needed, especially in the last days of incubation.
- Make sure there’s enough space between eggs for even heat.
| Incubation Day | Temperature (°F) | Humidity (%) | Actions |
|---|---|---|---|
| 1-25 | 99.5 | 55-58 | Turn eggs thrice daily |
| 26-28 | 99.5 | 65+ | Stop turning, prepare for hatching |
A well-set incubator is crucial for a good backyard poultry experience. By controlling the environment and handling eggs carefully, you lay the groundwork for a successful hatch. Every step you take helps the hatchlings grow strong and healthy. This leads to the joy of seeing your ducklings come to life.
The Importance of Temperature and Humidity Control
Keeping the right temperature and humidity is key for call duck incubation. These factors greatly affect the health and survival of duck embryos. We will look at how to keep the best conditions during incubation.
Selecting the Right Temperature Range
It’s crucial to keep the incubator at the perfect temperature, especially for call ducks. The ideal temperature is 99.5°F in a forced-air incubator. This must be kept steady to prevent harm to the embryos.
For still-air incubators, the temperature should be about 102º F. This helps counteract temperature differences inside the incubator. It’s important to check the temperature often with good thermometers to keep it right for the call duck incubation period.
Maintaining Ideal Humidity Levels
Humidity in the incubator is also very important for call duck incubation. At the start, humidity should be between 45% to 55%. This helps the embryos grow well.
As hatching gets closer, increase humidity to 65% or more. This helps the ducklings break out of the shell. Using electronic or wet bulb hygrometers is a good way to check humidity. Also, managing water and air flow helps keep humidity right, creating a great environment for egg development.
Incubation Challenges Specific to Call Ducks
Call duck breeding comes with unique challenges during incubation, often causing hatching complications. These small waterfowl need careful waterfowl care because they’re sensitive to their environment.
As incubation time nears, breeders adjust the temperature to about 37 degrees Celsius. They also increase humidity to 60-65%. Even small changes in these conditions can affect successful hatching, showing how delicate waterfowl care is.
Some Call duck breeders try to boost success by moving eggs to broody hens later in incubation. This mix of old and new methods uses the hen’s natural instincts. It might make the incubation environment more stable.
Prospective breeders should also get a biosecure and clean brooding area ready. This protects newborn Call ducks, or ‘Downies’, from diseases. It greatly reduces the chance of disease after they hatch.
- Consistently monitor temperature and humidity levels
- Prepare a secure and clean brooding area in advance
- Consider transferring eggs to broody hens if hatching rates falter
For those interested in Call duck breeding, visiting DucksNewWorld can offer more insights. It also connects you with a community that understands the challenges of duck incubation.
Fertility Checks and Pre-Incubation Preparation
Starting the journey of avian incubation requires careful preparation and fertility checks. These steps ensure the highest quality of fertile hatching eggs. This is crucial for successful incubation and the health of the developing embryos.
Identifying Fertile Hatching Eggs
To find fertile hatching eggs, look for the “bulls-eye” mark on the yolk during candling. This mark shows successful fertilization, key for starting incubation. Ducks lay eggs at about 6-7 months old, with peak fertility soon after.
The eggs’ viability greatly depends on keeping them in good conditions before incubation.
Ensuring Egg Viability Before Incubation
Before incubation, eggs need to be stored right to keep them viable. The best storage is at 55 degrees F with 75% humidity. It’s important to store eggs at these conditions and turn them daily if stored over seven days. This prevents the yolk from sticking to the shell, which can be deadly for the embryo.
Watching how ducks nest is also key. It helps in handling and cleaning the eggs. Eggs should be collected quickly to avoid getting dirty or damaged. They should be incubated within 7 to 10 days of laying for the best hatch rates, which drop sharply if stored too long.
| Storage Condition | Impact on Egg Viability |
|---|---|
| Temperature above 72°F | Embryos weaken and may die |
| Temperature below 46°F | High embryo mortality |
| Relative Humidity below optimal level (70-80%) | Causes excessive moisture loss, killing the embryo |
Also, never wash or wipe the eggs. This removes the protective bloom, raising the risk of bacterial contamination. Eggs that are too dirty should not be incubated due to these risks.
By paying close attention to these details and following recommended practices, bird lovers can greatly increase the chances of a successful hatch. This is done by keeping the hatching eggs’ integrity and fertility high during the pre-incubation phase.
Expert Tips for Turning and Handling Eggs
Learning how to turn eggs right is key for successful bird incubation. It affects how well birds can reproduce. Whether you’re new or experienced, these tips will help you do it well.
Frequency and Techniques for Turning Eggs
Turning eggs regularly and accurately is crucial for healthy embryos. Experts say to turn eggs at least five times a day. This prevents the embryo from sticking and ensures even heat.
Each turn should be about 180 degrees. If you’re turning eggs by hand, mark them with a soft pencil. This helps keep track of turns and ensures all eggs get equal care. Automatic turners can also help by making turns regular and precise.
For more tips on incubation, check out Metzer Farms. They have specific advice for different duck breeds and their needs.
The Role of Egg Turning in Avian Incubation
Egg turning is more than just a routine task. It’s a key part of incubation that affects bird reproduction. It keeps the embryo healthy by preventing the yolk from sticking to the shell.
It also helps the embryo develop evenly, leading to healthier hatchlings. This is crucial for successful bird reproduction.
| Incubation Day | Activity | Temperature (°F) | Humidity (%) |
|---|---|---|---|
| 1-25 | Egg turning, misting, daily | 99.5 | 55 |
| 26-28 | Pre-hatch, stop turning | 99.5 | 70-80 |
The table shows a good incubation schedule for duck eggs. It includes temperature and humidity changes as incubation goes on. Following these steps can improve your hatch rates and help with bird conservation.
To get the best results in bird reproduction, stick to a careful egg turning routine. Use precision and follow expert advice. With the right care and attention, you can raise healthy birds.
Monitoring Development: Candling Call Duck Eggs
By candling eggs, we can see how the embryo is growing inside. This helps us know if the eggs are healthy and ready to hatch. It’s a key step in making sure the incubation goes well.
Duck eggs take longer to hatch than chicken eggs, so we need to be very careful. We check if the eggs are fertile by candling them. This helps us spot any problems and keeps the eggs safe from bacteria.
- Day 4 observation: Checks for initial signs of veins and embryo positioning
- Day 7 scrutiny: Ensures proper growth and identifies blood rings, indicating embryo demise
- Day 14 evaluation: Offers a view of a more fully formed embryo filling the shell space
- Day 21 check: Focuses on final growth stages and air cell expansion before hatching
Duck eggs are very delicate, so we must handle them with care when candling eggs. Keeping our hands clean is important. This helps make sure the eggs hatch successfully.
Learning how to candle eggs well can really help duck eggs hatch. It lets us see how the embryo is doing and find any problems early. This is especially important in places where they breed ducks for a living.
With candling, we can get more than 85% of duck eggs to hatch in commercial settings. This method helps us get healthy ducklings. It makes the whole process of breeding ducks more rewarding and successful.
Recognizing and Addressing Hatching Complications
Incubation is more than just keeping the right conditions. It’s also about spotting and fixing hatching problems. Knowing the signs of these issues, like air cell problems, and how to help, can lead to healthier ducklings.
How to Spot and Solve Air Cell Issues
Air cell problems are a big sign of hatching issues. This air space is crucial for hatching. If it’s too small or in the wrong place, it means the egg might not be ready.
By day 18, candling can show if the air cell is okay. If it’s not right, you might need to make the air in the incubator more humid. This helps the duckling break free.
Intervention Techniques for Difficult Hatches
When ducklings have trouble hatching, you need to act fast. One way is the “assisted hatch.” This means making the incubator’s air a bit wetter and gently helping the duckling out.
But, you must make sure the duckling has eaten all the yolk and its blood vessels have gone back before you help. This is very important.
Also, putting eggs under a broody hen can help. A hen’s warmth and moisture can aid in hatching. Watching and adjusting based on what you see is key for a successful hatch.
Every egg and hatch is different. While these methods can help, they must fit the specific situation. Keeping a close eye and being ready to help can greatly improve your incubation success.
Conclusion
Starting the journey of hatching eggs, especially for call ducks, needs skill and creativity. It involves keeping the right temperature and humidity, turning eggs regularly, and watching for any issues. This hard work leads to the joy of successful breeding.
The experience of incubation teaches a lot about birds and how important a stable place is. It shows how crucial the right temperature and humidity are for the 28-day hatching process. Whether you’re new or experienced, there are clear steps to follow for raising waterfowl.
Success in hatching eggs comes from knowing science, gaining experience, and being patient. Keeping the right temperature and air flow, like with the Nuture Right 360 incubator, helps a lot. Seeing ducklings hatch is a great reward for all the hard work. For more info or to connect with duck lovers, check out Ducks New World.


